When I first saw a photo of
the Broomstick Lace bracelet I made four bracelets in different
colors and materials. I used a cotton yarn to make the first one. And
although I liked it, something wasn't quite right. The stitches were
not as defined as I would have like them to be.
 |
| Cotton yarn |
So, I crocheted a second
bracelet with hemp cord. The outcome was exactly what I was looking
for. The stitches were well defined and crisp. Looking back at my
first bracelet crocheted with the cotton yarn, I can see why the
stitches are not as defined. The cotton yarn is a bit fuzzy.
So, I made two more
bracelets. One in black hemp, and the other in a colorful nylon cord. Of all four
bracelets I made, the broomstick stitches were well defined in all of
them except the cotton yarn.
 |
| Black hemp with beads |
 |
| Variegated nylon cord |
It is the type of stitch
used in the design of the bracelet that makes the bracelet beautiful.
And with fuzzy materials like the cotton yarn, the lacy stitches
don't stand out as well as other types of materials. So be sure to
take this into consideration when selecting your material to make the
Broomstick Lace bracelet.
After starting a channel on
YouTube, I decided to include a video tutorial on how to make the
Broomstick Lace bracelet. I also posted several pictures of the
bracelets on Facebook with a link to the video. The response was more
than expected. Some asked me for written pattern instructions. So,
after making another bracelet and taking lots of photos, I finally
have written instructions in addition to the video.
The instructions in my
pattern are for the right-handed crocheter. If you are left handed,
Nicola (Cult
of Crochet) has very good detailed written instructions with lots
of photos.
Pattern Instructions
Although the "Broomstick Lace Crochet" bracelet can be made in different widths as shown in the photo below, pattern instructions will produce the bracelet on the right. To make the narrower bracelet in the photo on the left, crochet 10 chains in step 1, instead of 15 chains. And then adjust the pattern instructions appropriately.
 |
Materials Required:
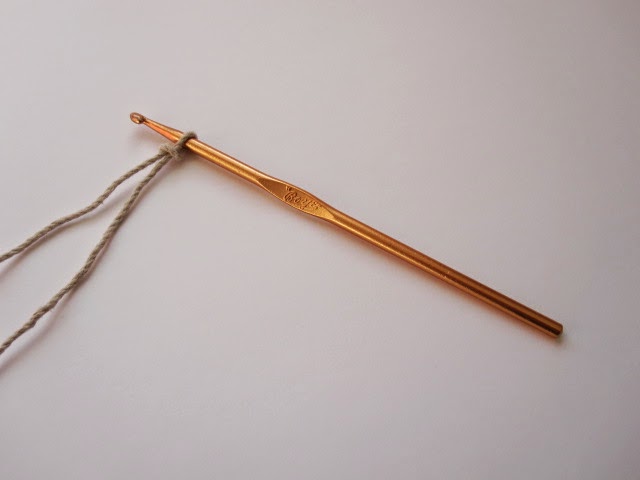
- Size G Crochet Hook for cotton yarn, hemp cord or nylon cord
- Large object such as a large crochet hook (size P or Q), or a similar object such as a highlighter (Sharpie)
- Yarn
Step
2: Pull the loop on the size G crochet hook to make it large enough to fit on the larger
crochet hook as shown below.
Step
3: While one loop is on the large crochet hook, insert the G crochet
hook into the next chain space of the [chain 15], pull through a loop
and place the loop on the large crochet hook. Repeat until you
have 15 loops on the large crochet hook
Step
5: Holding the 5 loops together with your fingers, insert the G
crochet hook under the top of the 5 loops, yarn over, pull up a loop, yarn over
and pull through the one loop on the hook (you just created 1 slip
stitch on the top of the 5 loops
Step 6: Insert G crochet hook under the top of the same 5 loops as before, yarn over and pull loop under the 5 loops, yarn over and pull through both loops on the hook. Repeat 4 times, ending with 1 slip stitch and 5 single crochets across the top of the 5 loops
Step
7: Repeat steps 4, 5 & 6 for the 2nd group of 5 loops on
the large hook
Step
8: Repeat steps 4, 5 & 6 for the 3rd (last) group of 5 loops on
the large hook
This completes row 1
Step
9: Using the G crochet hook pull the loop on the hook to make it
large enough to fit over the large crochet hook and place it on the
large crochet hook as previously done in step 2.
Step
10: With the one loop on the large crochet hook, insert the G
crochet hook into the next single crochet from the previous round, pull up a loop and
place the loop on the large crochet hook. Repeat until you
have 15 loops on the large crochet hook as previously done in step 3.
Step 12: Continue the pattern until your bracelet is the desired length. Then sew 2 or 3 buttons on
one end. Make sure the buttons are small enough to fit through the openings on the other end of the bracelet. Or connect the ends with ribbon. For more visual instructions, see my Broomstick Lace
bracelet video tutorial. The video tutorial also shows how to attach the ribbon.
http://youtu.be/3GX0WqA0T6I?list=UUooeABo4STuRUvjFMnDAnaA
Finished.
 |
| I used the same material that the bracelet was made with to sew the buttons on. This makes it difficult to see the stitches |
Finished.


No comments:
Post a Comment